What is polyaspartic floor coating?
Polyaspartic is a type of polyurea coating engineered to cure quickly while staying flexible and clear. It started life as a protective coating for steel bridges, where crews needed a finish that could go down fast, handle weather, and resist UV breakdown. Those same traits make it a strong choice for residential garage floors, patios, workshops, and light-commercial spaces here in the South Bay.
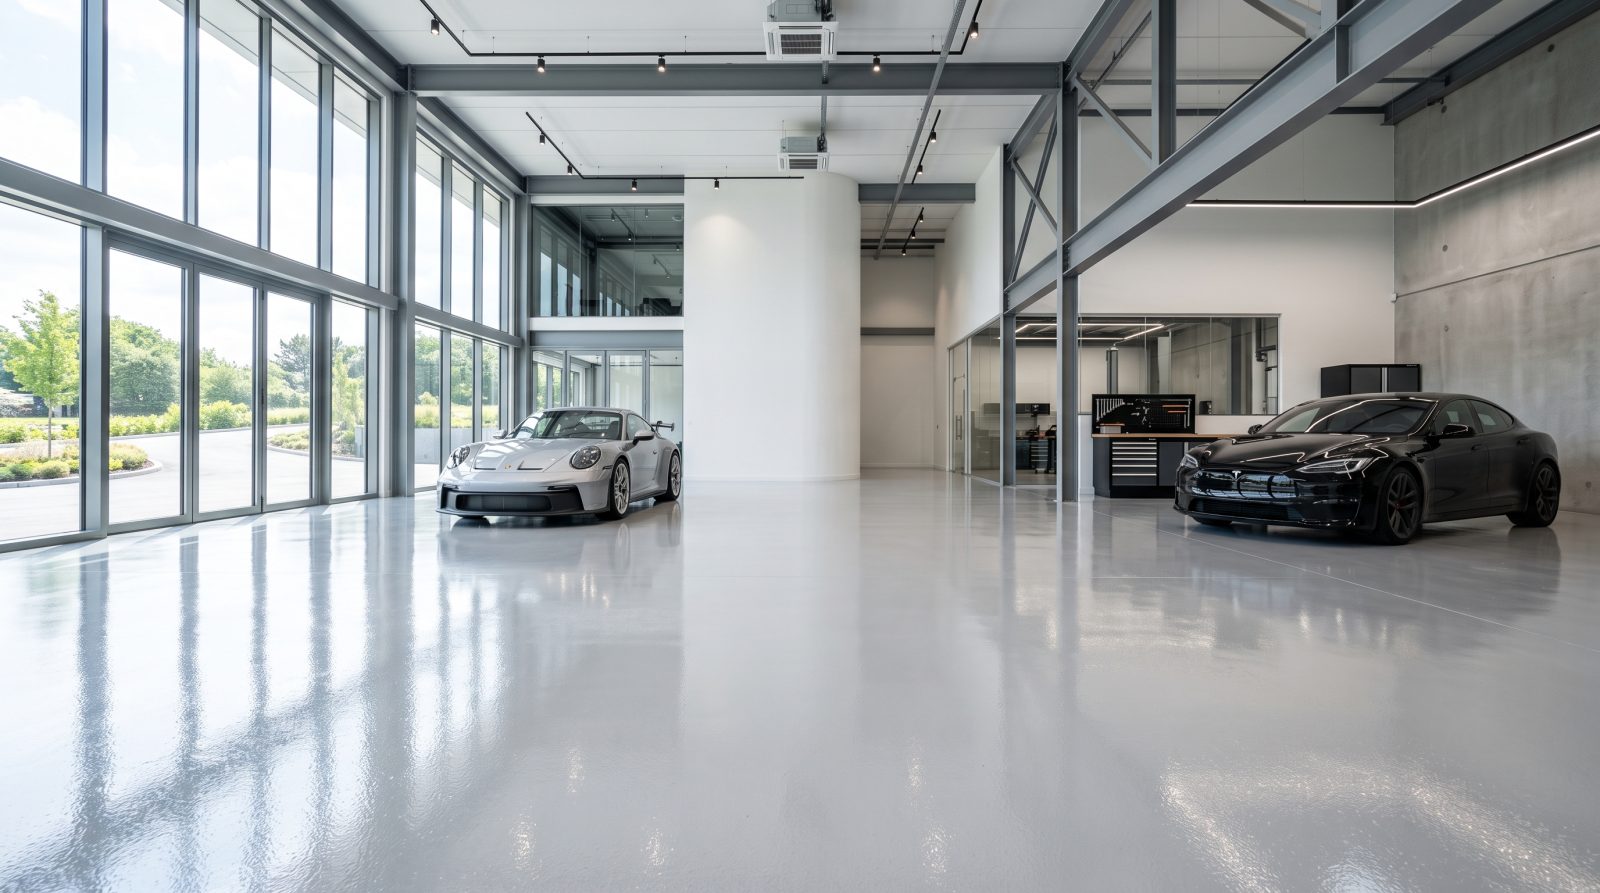
In practice, a polyaspartic floor is a layered system, not a single coat. Most installs start with a penetrating base coat that soaks into the prepared concrete, followed by a broadcast of decorative vinyl flakes (sometimes called chips) for grip and looks, then a clear topcoat that locks everything in and sets the sheen. The flake layer also hides minor slab imperfections and gives the floor its texture, which matters in a garage where wet shoes and dripping cars are normal.
The headline advantage is speed. Because polyaspartic cures by a chemical reaction rather than slow solvent evaporation, a typical garage can be coated in the morning and ready for foot traffic that evening, with vehicles back on it in roughly a day. That fast cure is also why this work is best left to an experienced installer: once the material is mixed, the working window is short, especially on warm days.
- Base coat: penetrates and bonds to the prepped concrete
- Flake or chip broadcast: adds traction, hides minor flaws, sets the color
- Clear topcoat: seals the system and controls gloss (matte to high-gloss)
- UV-stable chemistry: resists the ambering and yellowing that plagues some coatings
Why choose polyaspartic over epoxy?
The honest answer is that both are good coatings, and the right pick depends on your priorities. Epoxy is a proven, lower-cost system with a thick, hard film and excellent chemical resistance. Polyaspartic costs more per square foot but buys you speed, UV stability, and a wider temperature window for installation. Many of the best floors actually combine the two, using an epoxy or polyaspartic base with a polyaspartic topcoat.
The clearest reason homeowners lean polyaspartic is UV behavior. Standard epoxy can amber or yellow when exposed to sunlight, which shows up fast on a floor that gets direct light through an open garage door or on an outdoor patio. Polyaspartic is formulated to hold its color and clarity, so a gray-and-white flake floor still looks gray and white years later.
Speed is the other big factor. A full epoxy buildout often needs several days of cure time between coats before you can park on it. A polyaspartic system can frequently be finished in one day with next-day vehicle traffic. If your garage is also your gym, workshop, or the only path into the house, that downtime difference is real.
- Choose polyaspartic for: one-day installs, UV/sun exposure, cold or hot install days, fast return to service
- Choose epoxy for: tighter budgets, thick-film chemical resistance, indoor floors with little sun
- Common hybrid: epoxy or polyaspartic base coat plus a polyaspartic UV-stable topcoat
- Both systems live or die on surface prep, not just the product label
How the one-day installation works
A single-day polyaspartic install is realistic, but only because most of the work is preparation, and preparation is where coatings succeed or fail. A coating is only as good as its bond to the concrete underneath, so we don't skip steps to chase a faster finish.
The first and most important stage is mechanical surface profiling, usually by diamond grinding or shot blasting. This opens the concrete's pores and creates a textured profile (often described on the CSP scale) so the coating can grip. Acid etching alone is generally not enough for a long-lasting polyaspartic floor. After profiling, cracks and small spalls are repaired, and any oil or contamination is addressed before a single drop of coating goes down.
From there the layers go on in sequence: base coat, flake broadcast while the base is still wet, scraping and cleanup of excess flake once it sets, then the clear topcoat. Because polyaspartic cures so quickly, the crew can move from prep to finished floor in one working day on a typical residential garage. Cure times shift with temperature and humidity, so the exact schedule is confirmed on the day of the job.
- Step 1: Diamond grind or shot blast to a proper concrete surface profile
- Step 2: Repair cracks, joints, and spalls; clean and decontaminate
- Step 3: Apply the penetrating base coat
- Step 4: Broadcast decorative flake to refusal, then scrape and vacuum the excess
- Step 5: Apply the clear UV-stable polyaspartic topcoat and set the final sheen
How long does it last and how do I care for it?
A properly installed polyaspartic floor is built to handle years of daily garage use: hot tires, dropped tools, foot traffic, and seasonal moisture. The two things that most affect lifespan are the quality of the surface prep and the thickness of the system, which is why a well-prepped, multi-coat floor outperforms a thin one-coat job by a wide margin. Rather than promise a specific number of years, we'd rather set the right expectation: do the prep correctly, and these floors are among the most durable garage finishes available.
One of the practical wins is hot-tire resistance. Cheaper coatings and DIY roll-on kits can soften and lift where hot tires sit, leaving the coating stuck to the rubber. Polyaspartic's chemistry resists that hot-tire pickup, which is a common failure point for budget floors.
Care is genuinely easy. Sweep or dust-mop to keep grit down, and clean spills with a damp mop and mild cleaner. Avoid harsh acids and abrasive pads that can dull the topcoat over time. Put felt pads or a mat under jack stands and heavy equipment, and the floor will keep looking the way it did on day one.
- Lifespan is driven mostly by surface prep quality and system thickness
- Resists hot-tire pickup that ruins many DIY and budget coatings
- Routine care: dust-mop regularly, damp-mop spills with a mild cleaner
- Avoid: strong acids, harsh solvents, and aggressive abrasive pads
What does polyaspartic floor coating cost?
Pricing is best given after we see your slab, but it helps to know the typical industry ranges going in. As a general estimate (not a quote), professionally installed polyaspartic floor systems commonly fall in the range of about $5 to $12 per square foot, with most standard residential garage projects landing somewhere in the middle. Polyaspartic usually costs more per square foot than a basic epoxy floor, and the price reflects the faster cure and UV-stable topcoat.
The biggest cost drivers are the condition of your existing concrete and the size and complexity of the space. A clean, sound slab is straightforward; a floor with significant cracking, prior coating failures, oil saturation, or moisture issues needs extra prep and repair, which adds labor. Decorative choices such as premium flake blends, metallic looks, or a higher-build system also move the number.
These figures are typical ranges only and are not a promise of price. Concrete varies, and the only honest way to price your floor is to look at it. Give us a call and we'll walk you through what your specific slab needs and where it likely lands.
- Typical industry range (estimate, not a quote): roughly $5–$12 per square foot installed
- Usually priced above basic epoxy because of the fast-cure, UV-stable system
- Cost rises with cracking, prior coating failure, oil contamination, or moisture problems
- Final pricing requires seeing the slab — these are ranges, not guaranteed numbers
Is polyaspartic a good fit for South Bay garages?
For most South Bay garages, local conditions actually play to polyaspartic's strengths. The Santa Clara Valley's mild, mostly dry climate means installs rarely fight freezing temperatures, and polyaspartic's wide temperature window keeps scheduling flexible across the seasons. The marine layer that drifts in off the bay can push humidity up on summer mornings, which is one more reason we confirm cure timing on the day rather than promising a fixed clock. Where a west- or south-facing garage door lets in strong afternoon sun, the UV-stable topcoat earns its keep by resisting the yellowing that can hit standard epoxy.
Local concrete is the variable to respect. Garages across San Jose and neighboring South Bay cities like Santa Clara, Sunnyvale, Campbell, and Los Gatos sit on slabs of widely varying age and quality, and older Valley homes can carry decades of oil staining, hairline cracking, or control-joint movement. None of that rules out a polyaspartic floor; it just means the prep and repair plan matters even more, which is why we profile and inspect every slab before committing to a finish.
If you're weighing a coating for a garage, workshop, or patio anywhere in the South Bay, polyaspartic is worth a serious look, especially when you don't want the space out of commission for days. The best next step is a quick conversation about your slab so we can tell you honestly whether polyaspartic, epoxy, or a hybrid system is the smarter call for your floor.
- Mild Santa Clara Valley climate suits polyaspartic's wide install temperature window
- Marine-layer humidity can shift cure times, so timing is confirmed on the day
- UV-stable topcoat fits sun-facing garage doors common across the South Bay
- Older San Jose-area slabs often need extra prep — we profile and inspect first